Close
(0) items
You have no items in your shopping cart.
All Categories
    Filters
    Preferences
    Search

    Ear Wire Former No. 3: Kidney

    $84.00
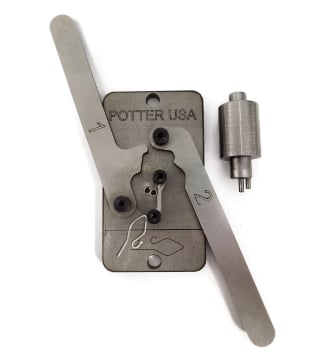
    This easy-to-use ear wire jig makes it easy to make repeatable, consistently sized kidney-style ear wires. This tool is NOT used in a hydraulic press. Finished ear wire is approx. 7/8" long, 3/8" wide, and features an outward bend in the end of the wire and catch for a secure hold. The loop is approx. 3mm diameter. Recommended for use with half-hard 20g wire.
    SKU: EWF3
    Ship to
    *
    *
    Shipping Method
    Name
    Estimated Delivery
    Price
    No shipping options
    Availability: In stock

    How To: Securely mount your ear wire former to the Wire Former Mount, a workbench, or in a vice.

    There is a line on the #1 arm that is the length of wire required to make this earring. Place 20-gauge, half-hard round wire against this line. Use flush cutters to trim the end at the mark.

    Use the tip of a pair of roundnose pliers to make a U-shaped bend in one end of the wire.

    Open all three arms away from the center piece of the former. Orient the former base so that it's horizontal in front of you with the #2 arm to the right. 

    Hold the U-shaped bend of the wire against the inner notch of the center piece of the former. Make sure the U-shape is pointing up (or down, to make a mirror image ear wire) rather than flat on the base. 

    Press arm #1 against the wire, pushing the wire against the center piece of the former. 

    Keep pressure on arm #1, and use your other hand to carefully guide the free end of the wire above arm #2, around the top of the center piece, and under arm #3. This will be a little fiddly at first until you get conformable with the process. 

    Press arm #2 against the center piece. You can now release arm #1, as arm #2 will hold it in place. 

    Press arm #3 down toward the center piece. This is the final forming step. 

    Release the arms, and remove the ear wire. 

    Customers who bought this item also bought

    Wire Former Mount

    WFMount
    $25.00
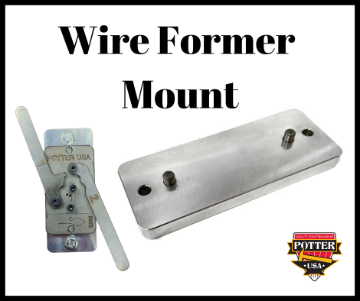
    This mount is meant to be used with our wire-forming tools. Each wire-forming tool includes two mounting holes that fit securely onto the pegs in this mount. The mount has two holes where it can be secured to a work surface with screws. Once attached to a work surface, each wire-forming tool can be dropped down onto the mount and held securely in place with the pegs. Changing out tools is as easy as lifting the wire former off the pegs and replacing it with a different wire former. The mount measures 5" x 2". Wire forming tools SOLD SEPARATELY.

    Ear Wire Former No. 1

    EWF1
    $84.00
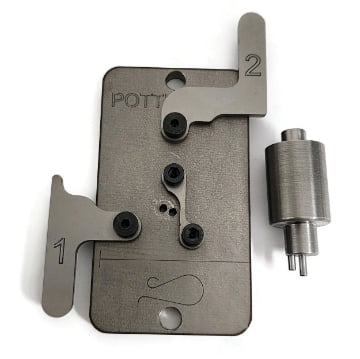
    This easy-to-use ear wire jig makes it easy to make repeatable, consistently sized shepherd’s hook-style ear wires. See long description for instructions, and watch the video below! This tool is NOT used in a hydraulic press. Finished ear wire is approx. 22mm long, 10.5mm wide, and features an outward bend in the end of the wire to help secure it in the ear when worn.

    Ear Wire Former No. 2

    EWF2
    $84.00
    This easy-to-use ear wire jig makes it easy to make repeatable, consistently sized shepherd’s hook-style ear wires. See long description for instructions, and watch the video below (coming soon)! This tool is NOT used in a hydraulic press. Finished ear wire is approx. 25mm long, 10.5mm wide, and features an outward bend in the end of the wire to help secure it in the ear when worn. The loop is approx. 3mm diameter. Recommended for use with 20g wire with a balled-up end.

    Urethane Pieces

    UP
    $8.50
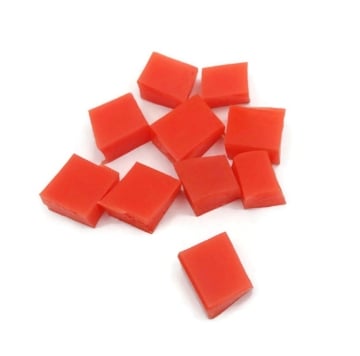
    Bag of 10 pieces of urethane for use with impression dies. 95 durometer sheet. Pieces range from approximately 1/2 inch squares. Thickness of each piece is 1/4 inch. Note: These will fray, crack and deform with use, but you will get many uses from them.

    Pancake Die 1699 Fold-Over Keychain 1

    PD 1699
    $30.50
    This shape is meant to be folded in half to create a keychain - no need for soldering! Shape - 4-5/16" x 1-1/8" Die itself - 5-5/8" x 6-3/8"